Before You Begin
You'll need a FairQuest account before setting up your vendor profile. If you don't have one yet, follow the User Guide first — it walks you through creating your account step by step.
Already have an account? Log in and head to the main page to get started.
Create Your Vendor Profile
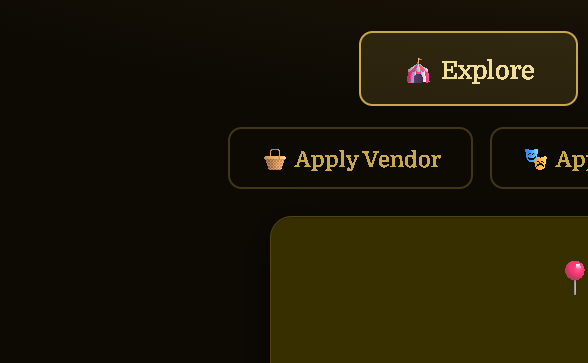
From the main page, click Apply as a Vendor to get started with your vendor profile.
Go to the Main Page & Click "Apply as a Vendor"
On the FairQuest main page, find and click the Apply as a Vendor button to begin setting up your vendor profile.
Fill In Your Vendor Information
Add the details about your business:
• Business / Vendor Name
• Description — what you sell, your style, your specialty
• Vendor Type — Artisan/Craft or Food Vendor
• Photos — images of your booth, products, or setup
• Website (optional)
• Contact Information
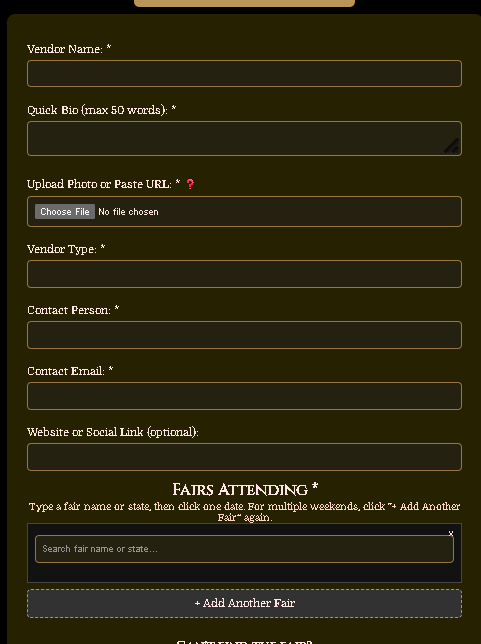
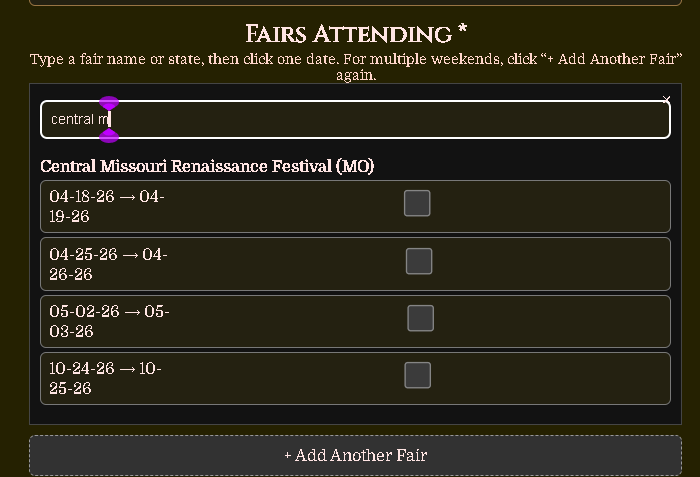
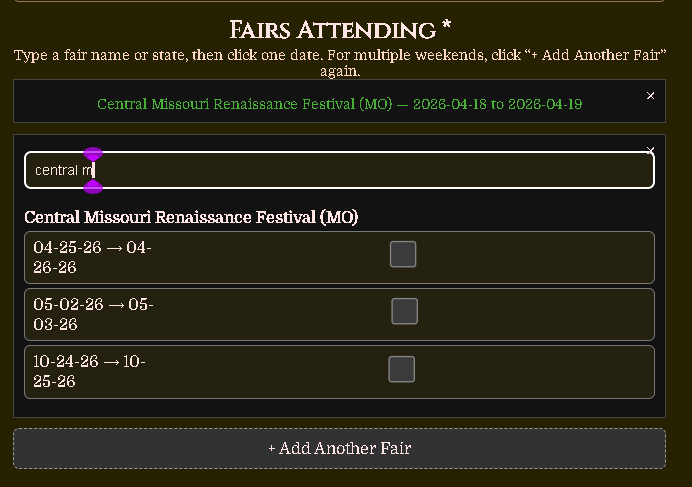
Add Your Fairs
Search for the fair you want to vend at by name — a list will appear as you type. Select the fair and you'll see the available dates. For each weekend you plan to attend, check the box next to that date. Repeat this process to add each fair and weekend until your schedule is complete.
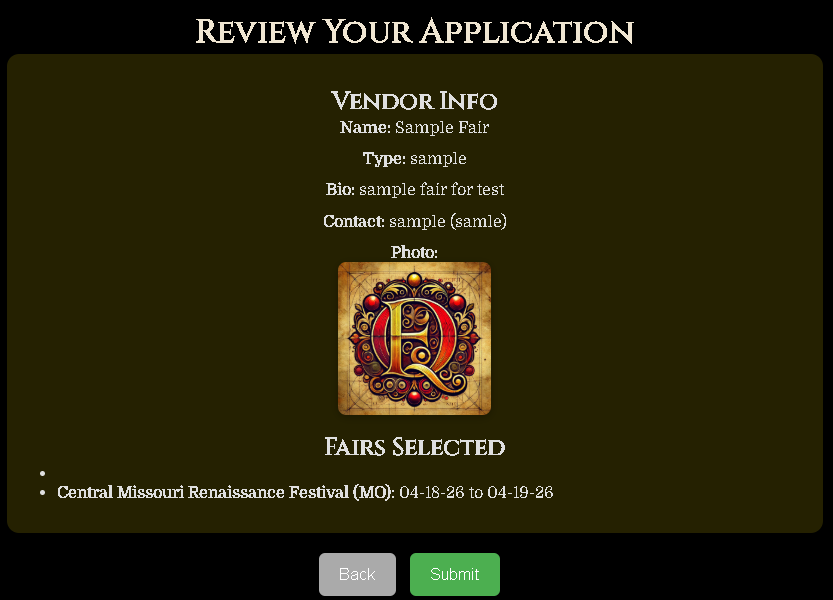
Review Your Application
Before submitting, review all your information to make sure everything is correct. Once you're happy with it, click Submit to send your application for approval.
Wait for Review
Once you submit, your application will be reviewed by the FairQuest team. You'll receive an email at the contact address you provided when your application has been approved or declined.
While you wait, you can check the status of your application at any time from your Vendor Dashboard.
📊 Go to the Dashboard Guide